How to Make a Custom Business Banner: A Complete Step-by-Step Guide
A lot of banners fail before they even get printed. Not because the printer botched the colors, or the material ripped in the wind on day two. The real problem usually happens way earlier - nobody actually decided what the banner was supposed to do before someone opened a design tool. So you end up with something that looks perfectly fine on a laptop screen and falls completely flat once it's hanging outside, twenty feet from the nearest person who might glance at it.
If you've never made one before - or you have, and it didn't turn out how you pictured it - here's the full process, start to finish. Skipping the generic design theory. Just the stuff that actually matters once it's hanging up in the real world.
Start With the Job, Not the Design
Before anything gets picked - colors, fonts, layout - figure out what the banner actually needs to do. Obvious advice, sure. But it's the step almost everyone skips, and honestly it's the reason so many banners end up cluttered or forgettable.
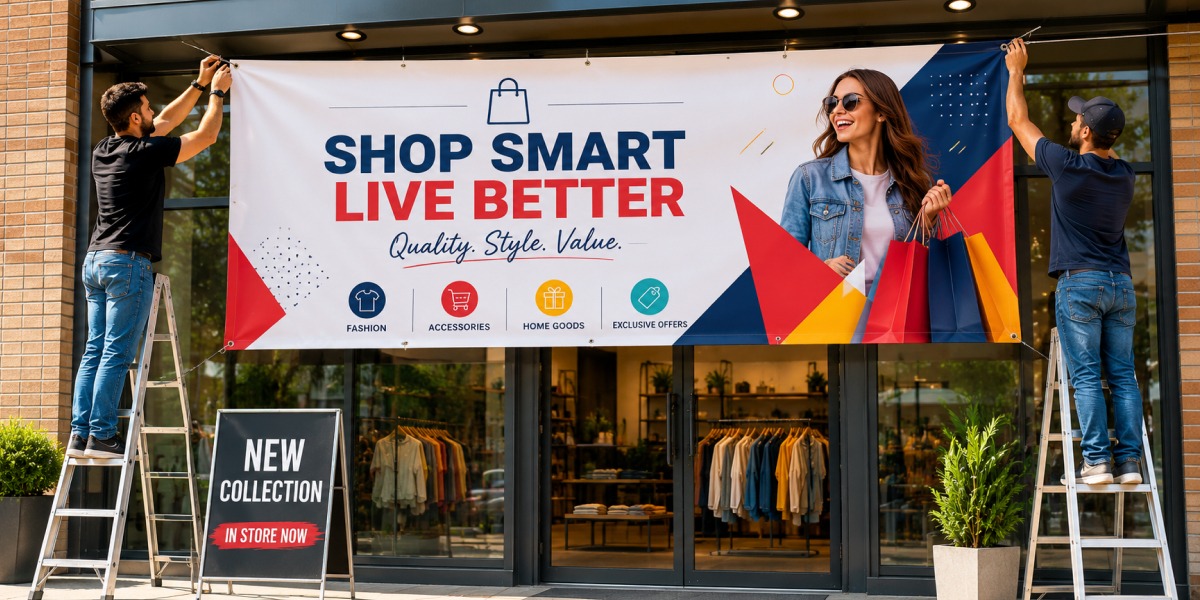
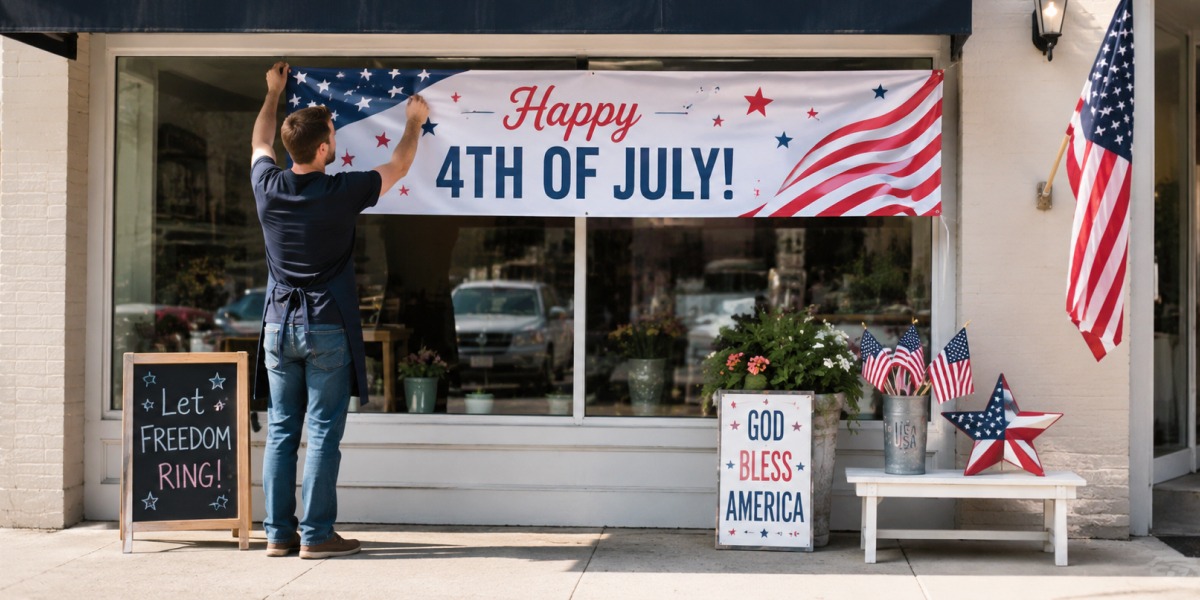
Think about it this way. A banner outside a storefront announcing a weekend sale has a totally different job than one set up at a trade show booth. The storefront one has maybe two seconds to stop someone mid-walk and land a single idea. The trade show banner gets more time - people are standing right in front of it, sometimes reading a couple lines. A grand opening banner is doing introductions. A one-day event banner is creating urgency.
Write the job down, one sentence, before you go any further. Something like: "Get people walking by to know we're running a sale this weekend." That sentence ends up filtering every decision from here - what makes it onto the banner, what gets cut, how big the text needs to be.
Picking the Right Format
This is where things get a little more complicated than people expect, mostly because there are more options on the table than "just print a banner."
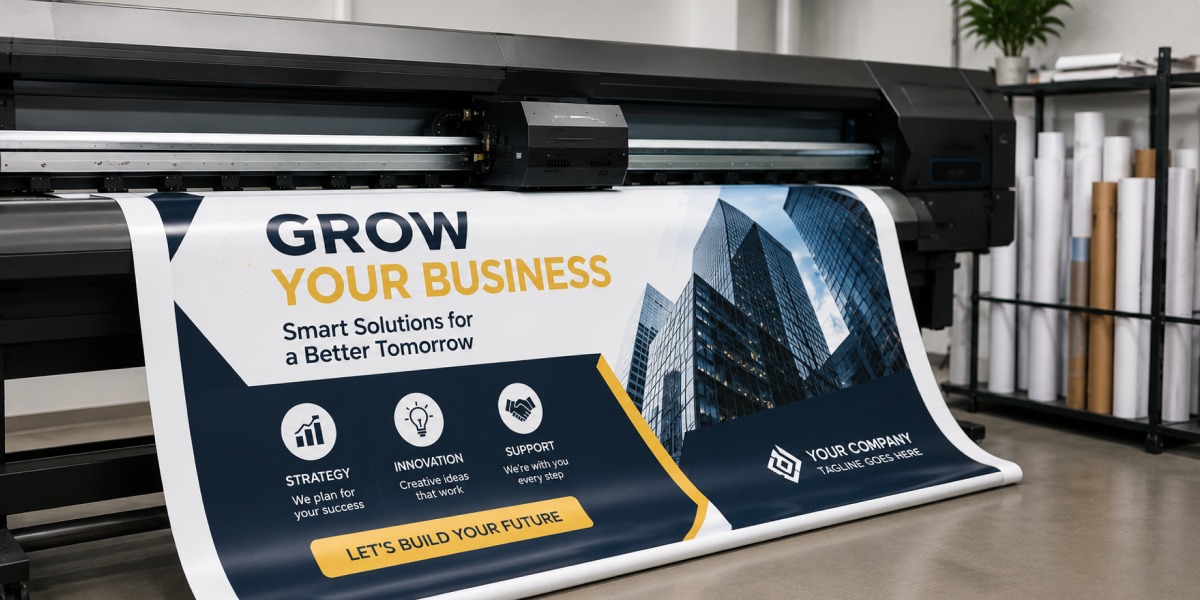
Custom vinyl banners are the default, and for good reason. Durable, handle outdoor weather without much drama, work bolted to a fence just as well as hung across a storefront. If it's living outside for more than a weekend - rain, wind, beating sun - vinyl's usually the right call. It's also the cheapest option once you're talking about larger sizes, which matters if you're covering a wide storefront or a tall exterior wall.
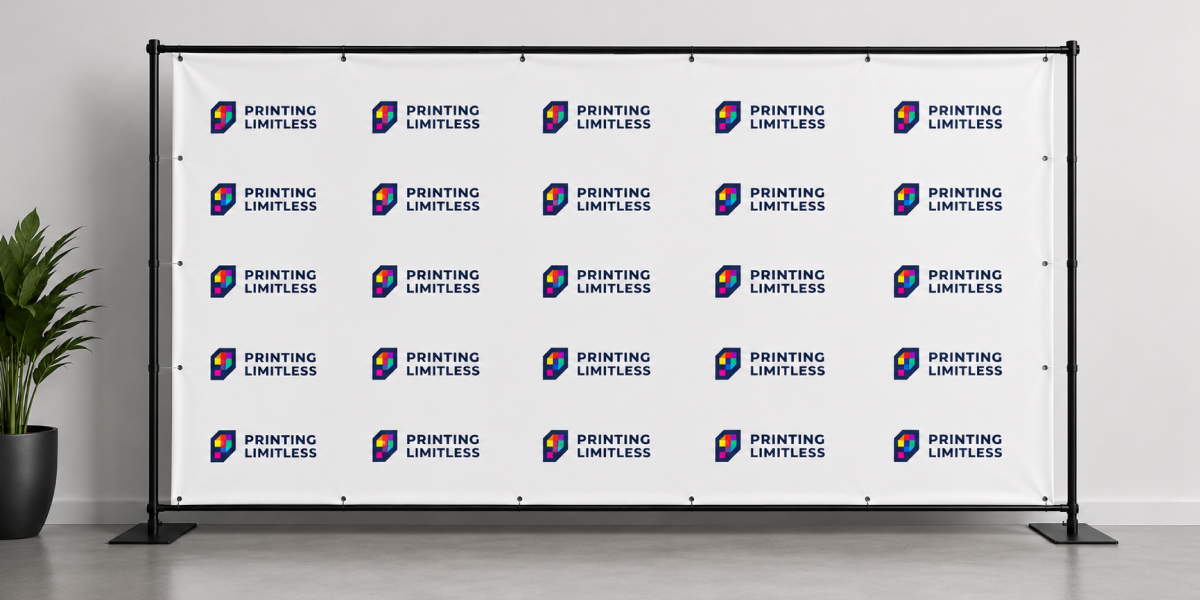
Retractable banners solve a completely different problem. These are the freestanding roll-up displays - trade shows, conferences, in-store promos, the thing standing behind a podium at an event. The whole point is portability. No tools, no mounting, up in under a minute, folds back into its case when the event's over. If a banner needs to travel - between locations, between events - this beats anything meant to be mounted permanently, no contest.
There's also mesh banners (perforated, lets wind pass through instead of catching the whole surface - good for anywhere windy), fabric banners (softer, more upscale finish, better indoors or somewhere sheltered), and pole banners for lining a sidewalk or entrance.
Which one's "right" really comes down to where it's going and how long it needs to survive there. A banner stuck outside year-round and a banner that gets pulled out twice a year for trade shows need completely different specs. Don't pick based on price alone - pick based on the job from step one.
Design for the Distance People Will Actually See It From
Here's something that trips up nearly everyone making their first banner: what looks great on a screen twelve inches from your face is not automatically what looks good from across a parking lot. Not even close, sometimes.
Print shops use a rough rule for this - every 10 feet of viewing distance needs about 1 inch of letter height. Someone reading your banner from 30 feet away, across a street say, needs text that's at least 3 inches tall to actually read it. Smaller than that, and it's just decoration nobody can make out.
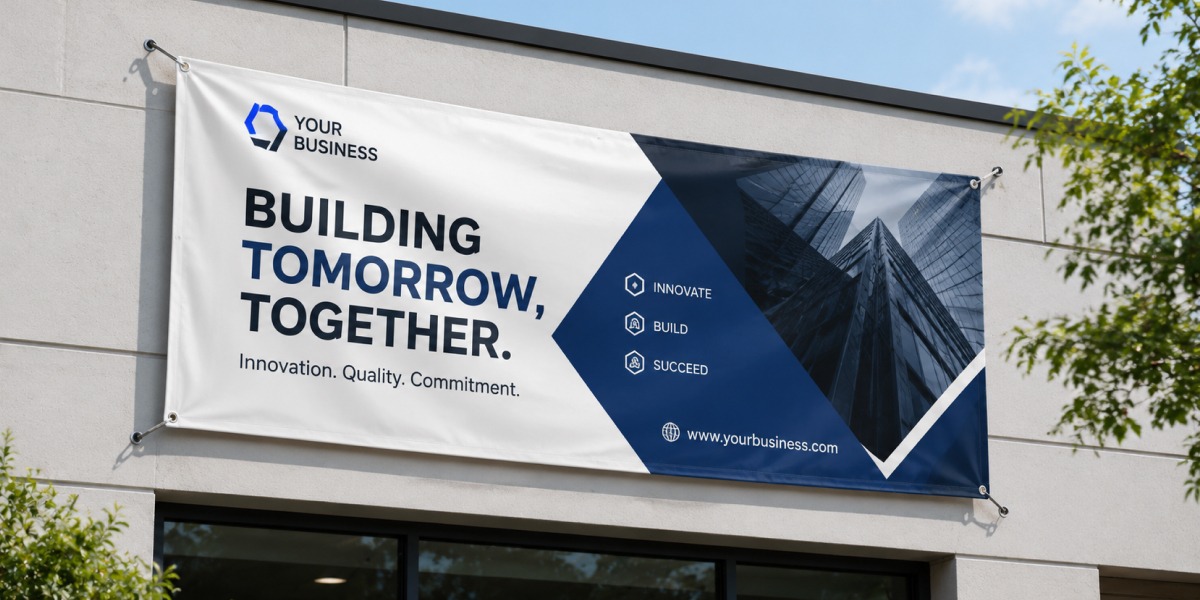
Keep the layout simple. One headline. One supporting line. A logo, maybe. That's the whole banner, for most use cases. The temptation is always to cram more on - extra details, a phone number, three promotions squeezed onto one piece of vinyl - but every element you add slows down how fast someone processes the main message. And you've got about two seconds of someone's attention on a banner. Three if you're lucky.
Color contrast matters more than most people give it credit for, too. Dark text on a light background (or flipped) reads from a distance far better than two similar tones fighting each other for attention. If your brand colors don't naturally contrast well - and a lot of brand palettes don't - it's worth adjusting just for the banner instead of forcing strict brand consistency at the cost of someone actually being able to read it.
Getting the File Print-Ready
This part's easy to get wrong if you're used to working with web files and not print files. A design that's razor sharp on your monitor can come out blurry or pixelated once it's blown up to banner size. Screens and print just don't forgive the same mistakes - what looks fine at 100% zoom on a laptop can fall apart at six feet wide.
A few things worth double-checking before sending anything to print: resolution high enough for the final size (100–150 DPI at full scale is a common minimum for banners viewed from a distance, though every printer specifies their own requirement). Vector files for logos and text wherever you can manage it - they scale up clean, unlike raster images, which just get blocky. And bleed, if your design has background color or imagery running to the edge, so nothing gets awkwardly cut off during trimming.
If this part sounds intimidating, don't worry too much - most printing services will review your file before sending it to press and flag anything that's going to cause a problem, especially when it comes to business banners sized for outdoor use. Worth letting them do that rather than guessing and hoping.
Finishing Details That Actually Matter
Material's one decision. How it's finished is a separate one - and it matters just as much for how the banner holds up once it's actually outside doing its job.
Grommets are standard for anything getting hung or mounted. Small metal rings punched along the edges, lets you run rope, zip ties, or hooks through without tearing the material. Anything wider than a few feet, space those grommets closer together - every couple feet instead of just the corners - or the banner sags and flaps loose in any real wind.
Pole pockets are another route: a sewn sleeve along the top and bottom edge that a pole slides through, common for banners that need to stay taut without a frame holding them up. Indoors, or for anything temporary, adhesive backing or hook-and-loop strips skip the hardware question entirely.
None of this is complicated. It's just easy to overlook until your banner shows up without the hardware you actually needed for how you'd planned to hang it. Better to decide this before ordering than after.
DIY or Hire It Out?
No single right answer here - depends what you're working with and what kind of result you actually need.
Got design chops, or know someone who does? Building your own custom banner from scratch gives you full control and saves money, especially for something simple and text-heavy. A lot of online design platforms have templates built specifically for banner dimensions now, which makes this a lot more approachable than it used to be even if design isn't your background.
That said - for anything more involved (multiple sections, photography, layered branding), working with a designer or using a printer's design service usually pays for itself. A second set of eyes that actually knows print specs catches problems before they turn into expensive reprints, and the gap between an amateur layout and a professional one is usually pretty obvious the second the banner goes up.
Print Through Someone Who Actually Does Outdoor Work
Not every printer handles large-format outdoor printing the same way, and this is where quality differences show up fastest - sometimes within the first couple weeks. Color accuracy, how well the ink holds up under UV exposure, whether the material actually survives weather, all of that comes down to the equipment and materials a print shop is using. Not just the file you sent them.
If the banner's going outside for any real stretch of time, ask specifically about UV-resistant inks and weatherproof material. A banner that looks sharp on day one and fades to a washed-out version of itself by week three isn't doing your business any favors - and that's a more common problem than people expect from cheaper print shops.
Think Past the First Use
A banner doesn't have to be a one-time cost. Vinyl banners, stored right - rolled or folded flat, kept dry, out of direct sun when not in use - can last years across multiple events or seasons. Same goes for retractable banners; the entire point of that format is repeated, low-effort setup, which makes them worth the investment if you're regularly at trade shows, markets, or recurring promotions.
Ordering something with a specific date or limited-time offer printed right on it? Fine - just know going in it's a single-use item, and budget it that way instead of expecting it to carry over to your next event.
Putting It All Together
None of this is actually complicated once you break it into pieces. Figure out the job first. Pick a format that matches where it's going. Design for distance, not for a screen sitting twelve inches from your face. Get the file right. Choose finishing that matches how it'll actually be hung. Skip any one of those and you end up with a banner that looked fine in theory but doesn't do much once it's out in the real world.
Whether it's one storefront banner or a full set of retractable displays for a trade show circuit, the process doesn't change. Get clear on the goal first. Everything else follows from there.